

Showing posts with label Recipes. Show all posts
Showing posts with label Recipes. Show all posts
Friday, September 13, 2013
FYI Friday

Friday, September 6, 2013
Marinated Chili-Garlic Chicken with Roasted Veggies


2 lb chicken tenders or breasts cut into strips
4 large garlic cloves
1/2 small onion, chopped
8 oz Greek yogurt (any fat content is fine)
2 tsp chili powder
2 tsp soy sauce
1 tsp oregano
1 tsp Spanish smoked paprika
2 zucchini, cut into 1-inch pieces
1 red pepper, cut into 1-inch pieces
1 yellow pepper, cut into 1-inch pieces
1/2 red onion, cut into 1-inch pieces
1-2 cups eggplant, cut into 1-inch pieces
1-2 T. Bragg's Liquid Aminos
2 T. olive oil, divided use
salt and pepper
Chimichurri Ingredients:
1/2 cup parsley, chopped
1 garlic clove, minced
1/2 of a seeded jalapeno, finely chopped
1/2 of a lime, juiced
3 T olive oil
salt and pepper
Directions:
In a large bowl, mix together garlic, onion, yogurt, chili powder, soy sauce, oregano, and paprika. Add chicken and stir to coat. Refrigerate for at least 2 hours, or overnight.
About 20 minutes before you're ready to cook your chicken, begin to prepare your vegetables and chimichurri. Preheat oven to 400.
For the vegetables, line a large rimmed baking sheet with parchment paper. Spread veggies evenly on top and top with olive oil and liquid aminos. Toss to coat and sprinkle with salt and pepper. Cook for 20 minutes, stirring once about halfway through.
For the chimichurri, mix all ingredients in a small bowl and set aside until ready to serve.
After you've tossed the vegetables, prepare your grill or grill pan for the chicken. Heat pan over medium-high heat and add olive oil. Grill chicken for about 4 minutes on each side, or until no longer pink.
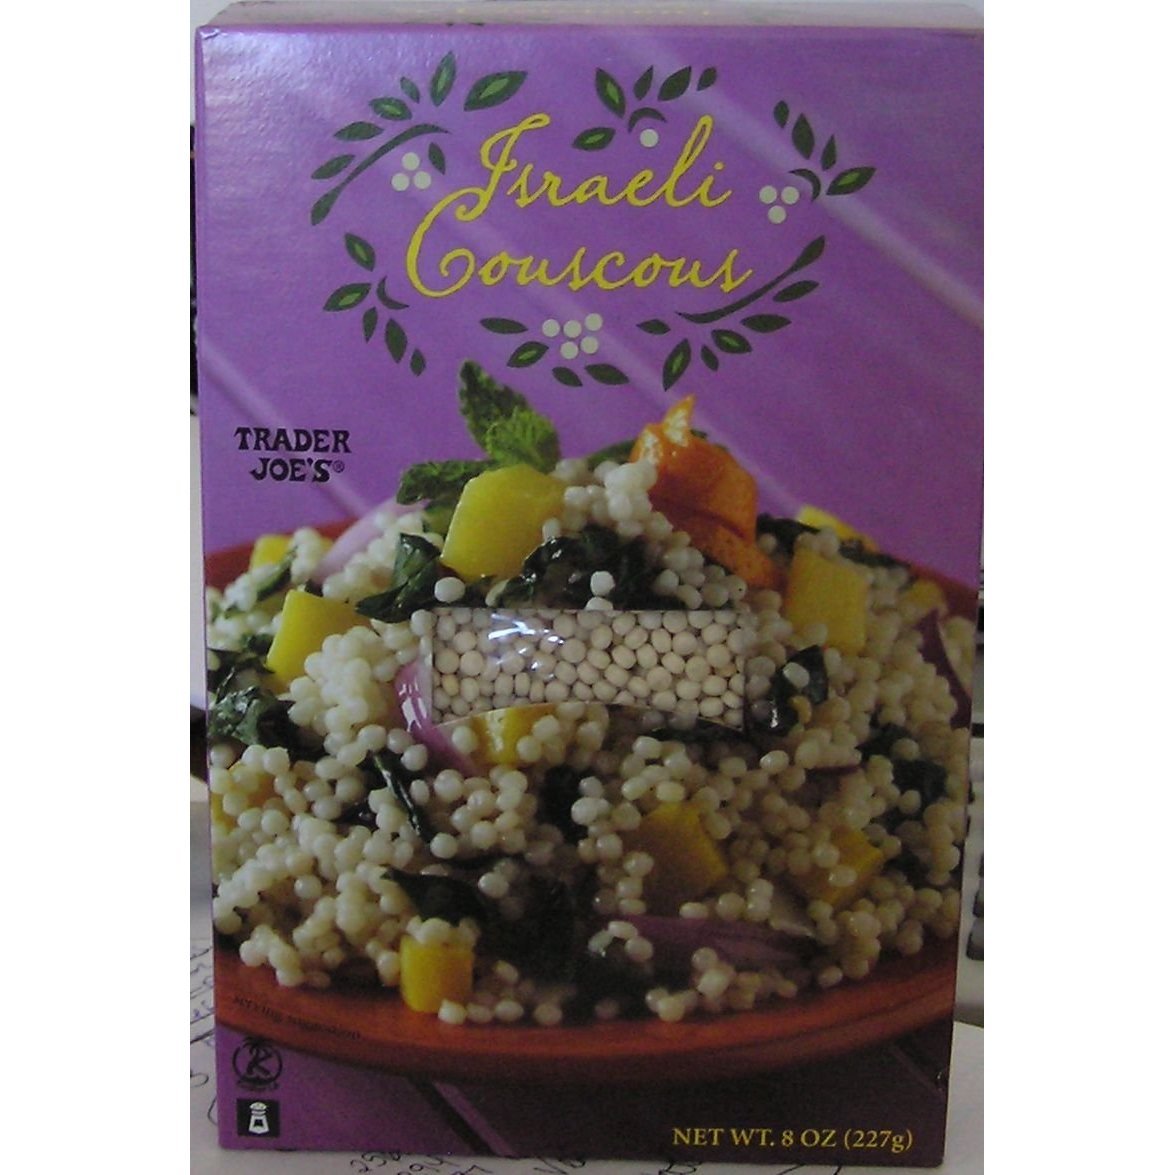
To assemble, place chicken tenders atop a bed of Israeli couscous or rice, top with a generous spoonful of roasted veggies, and drizzle with chimichurri sauce.
Monday, August 19, 2013
Things You Must Try
 |
| Orange Party Cake with Whipped Orange Frosting via Sweetapolita |
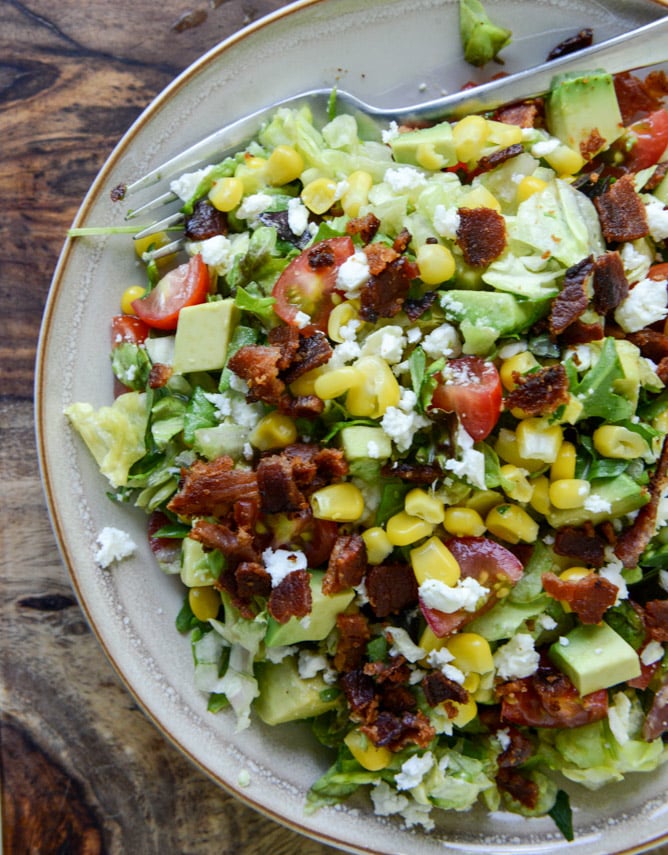 |
| BLT Chopped Salad via How Sweet It Is |
 |
| Thai Chopped Chicken Salad via Taste and Tell |
 |
| Homemade Chicken 'n' Dumplings via Eat, Live, Run |
 |
| Vegetarian Bahn Mi Sandwich via The Chubby Vegetarian |
 |
| Chickpea Crockpot Pie with Biscuit Topping via Peas and Thank You |
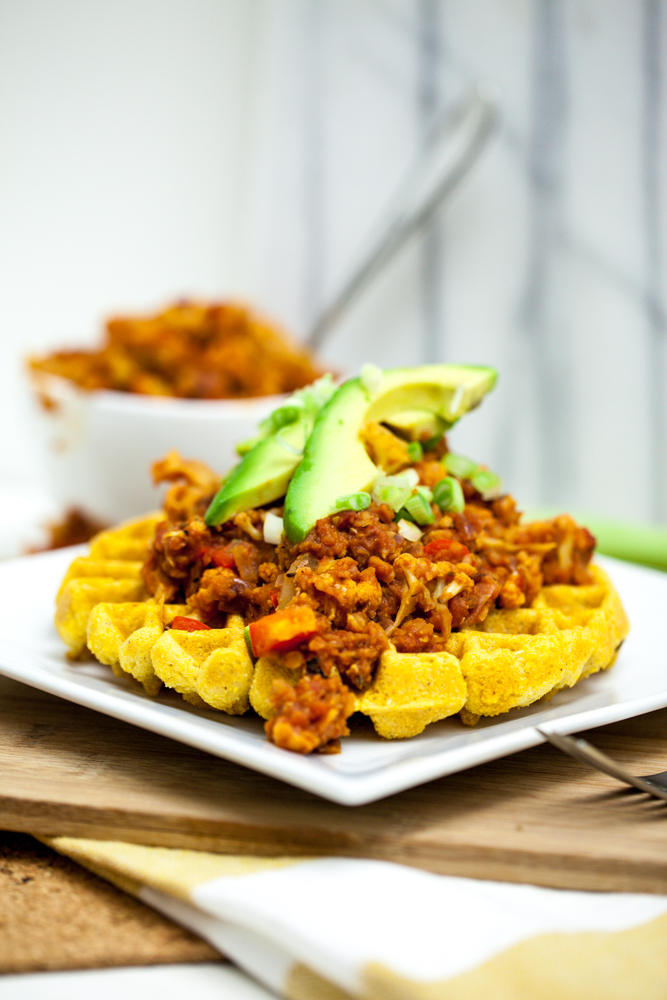 |
| Cheesy Cornbread Waffles with Cauliflower Lentil Sloppy Joes via Keepin' It Kind |
Monday, May 13, 2013
Baked Pumpkin Donuts

It's been a while since I initially made these, but my children have not forgotten them! Nearly every Saturday morning since then they have asked for "those donuts you made that time." They were really good, as is just about anything sweet straight from the oven.
I appreciate that Nicole reduced the oil and sugar from the original recipe and, like her, we didn't miss either. I changed from her butterscotch icing to a simple sugar glaze, but I'm sure the butterscotch icing would be heavenly.
Just seeing the pictures again makes me want to whip up a batch this weekend. It's just as quick to whip up a batch of these as it is to get in the car and drive to our local donut shop, but these are definitely healthier!

Baked Pumpkin Donuts
adapted slightly from Prevention RD
{Print recipe}
Ingredients:
1 3/4 C. whole wheat pastry flour
1/2 tsp baking soda
1/2 tsp salt
3/4 tsp cinnamon
1/4 tsp nutmeg
1/4 tsp allspice
1/4 cup canola oil
1/2 cup well-shaken buttermilk
1/4 cup packed brown sugar
1 egg
3/4 cup pumpkin puree
1 tsp vanilla
For the glaze:
1/4 cup confectioners' sugar
1-2 T. almond milk or water
Directions:
Preheat oven to 350. Spray a donut pan with non-stick cooking spray.
In a medium bowl, combine all the dry ingredients (flour through spices). In a separate bowl, combine oil, buttermilk, brown sugar, egg, pumpkin, and vanilla, whisking to combine.
Stir the dry ingredients into the wet ingredients, being careful not to overmix. Fill the donut pan with batter, filling each one 2/3rds full.
Bake for 10-12 minutes or until a toothpick inserted in the center of one of the donuts comes out clean. Let cool while you make the glaze.
For the glaze, sift confectioners' sugar into a small bowl. With a whisk or fork, whisk the almond milk (or water) until smooth, adding more liquid as needed to reach your desired consistency.
Drizzle the glaze over the warm donuts. If you don't want it to absorb as quickly, wait until the donuts have cooled completely before icing.

Monday, May 6, 2013
Cowboy Coleslaw

Kids can be so unpredictable. One meal they love everything on their plate, the next meal they're picking out pieces of who knows what and whining all the while. Even though my kids are both good eaters, I assure you we are not exempt from this behavior. My personal favorite is when you serve the same dish a second time and this time they suddenly don't like it and declare it "gross." How could your tastebuds change in the matter of a few months? Blasphemy!
This coleslaw turned out to be one of those dishes. That is until the oldest realized there were apples, grapes, and pickles, and that he did, in fact, love all of those things. So just as quickly as he curled up his nose, he was begging for more. My day just wouldn't be complete without some unnecessary whining and protest.
Like the wee ones, the big ones enjoyed this coleslaw as well. I love a good coleslaw alongside a burger or sandwich, but I'm not a fan of the boring, run-of-the-mill-mayo-laden varieties. This one offers a little extra crunch with the fruits and a little tart with the pickle. I don't really think a "cowboy" would make this, but I'm sure one would enjoy it if they tried!

Cowboy Coleslaw
Ingredients:
1/3 cup Veganaise (or regular mayo)
2 T apple cider vinegar
2 T sugar
2 tsp grain mustard
1/2 tsp salt
1/2 tsp pepper
1 tsp onion powder
1 bag shredded cabbage or slaw mix
6 dill pickle slices (the big "Stackers" kind)
1/2 cup red grapes, cut in half
Directions:
In a large bowl, combine shredded cabbage, pickles, and grapes. Toss to combine.
In a small bowl, whisk together remaining ingredients until smooth. Pour over cabbage mixture and toss well to coat. Cover and refrigerate for 2-6 hours (or more). Stir before serving.
Monday, April 29, 2013
Cinco de Mayo Inspiration

Tuesday, April 23, 2013
Crispy Creole Fish Sandwiches

While we're on the topic of sandwiches, I thought I'd share another one of our favorites with you. There's just something about all the toppings that go on a sandwich that makes my little heart go pitter-patter. I love the crunch of the lettuce, the way all the condiments blend together, and the way the cheese melts over and seals everything in place. Yes, please, I'll have one now!
This fish sandwich is not for the spice intolerant. But it can easily be tamed down (or up!). My kids ate the fish, as is, but without the spicy remoulade. I appreciate that the spice gives it flavor without having the extra calories and gunk from frying. I hope you'll agree!

Crispy Creole Fish Sandwich
For the remoulade:
1/2 cup vegannaise (or regular mayo)
2 T. spicy brown mustard
2 T. dill pickle, diced (or relish)
2 T. shallots, finely chopped
1 tsp Sriracha
1 tsp creole/cajun seasoning
juice of 1 lemon
For the fish:
1 egg
1/2 cup milk
1/2 tsp Sriracha, or your favorite hot sauce
1/2 cup cornmeal
1/2 cup flour
1 T. creole/cajun seasoning
4 large tilapia filets, or other mild white fish
1/3 cup canola oil
For the sandwiches:
8 slices whole wheat bread
1 tomata
Romaine lettuce
Pepperjack cheese, sliced
Directions:
For the remoulade: Combine all ingredients in a small bowl and stir to combine. Cover and refrigerate until ready to use. Can be made up to 2 days prior.
For the fish: Add enough canola oil to cover the bottom of a large skillet or saute pan. Heat over med-high heat until a drop of water sizzles when dropped into the oil. While the pan heats, mix the egg, milk, and Sriracha in a shallow dish large enough to hold a piece of the fish. Then add the cornmeal, flour, and creole seasoning to a large zip-top bag. Shake well to combine.
Dredge each filet in the egg wash and then add to the zip-top bag. Shake well to coat each filet. Add each filet to the hot oil and fry on each side until golden brown, about 4 minutes per side. Remove to a paper towel-lined plate to blot some of the oil. Add salt and pepper to taste. Finally, top with pepperjack cheese so it can start melting.
For the sandwiches: To assemble the sandwiches, spread one remoulade on 4 slices of the bread. Top with lettuce, tomato, 1 fish filet with cheese, and the other piece of bread.
Thursday, April 18, 2013
Avocado Chicken Salad Sandwiches

Now that spring seems to have finally sprung in the Bluegrass, my brain has totally switched gears and is in full on warm weather food. Pasta salads, sandwiches, cold grain salads, and grilling just to name a few.
We enjoyed this sandwich several weeks ago when I'm sure the weather wasn't so warm, but we devoured it nonetheless. It's just simple and refreshing and allows each ingredient to be tasted individually. We have become huge avocado fans, so anything with that luscious green melty flesh in it is a winner in our book!
One drawback is that the chicken salad is best enjoyed the day you make it. As with most dishes involving avocados, they tend to brown the longer they're cut. It's a shame really because I love leftovers! With this recipe though, there weren't any leftovers to speak of, so this was not an issue.

Ingredients:
1 ripe avocado
2-3 T. non-fat, plain Greek yogurt
Juice of 1/2 lemon
1/4 c walnuts, toasted and chopped
8 slices whole wheat sandwich bread
romaine lettuce (optional)
sliced tomatoes (optional)
Cut the avocado into cubes and add to the chicken along with the yogurt, lemon juice, and walnuts. Toss well to combine and to "mush" up the avocado so that it mixes with the yogurt to coat everything.
Spread the chicken salad onto each of the rolls and top with the romaine and tomato as desired.
In a medium saucepan, boil chicken in enough water to cover generously. Once boiling, add a teaspoon of salt and pepper, cover and reduce heat to low. Allow to cook for 10 minutes. Remove from heat and allow to cool. Once cool, shred chicken with your fingers or 2 forks, into a medium-sized bowl.
Spread the chicken salad onto each of the rolls and top with the romaine and tomato as desired.
Tuesday, April 16, 2013
Salted Caramel Chocolate Cake and Happy Birthday, Wes!
As I mentioned in my FYI Friday post, last Monday was Wes' birthday. He's now not only older than me (well he always is) but now he's closer to 40 than he is 30. That one hurts. Not as much as I bet the big 4-0 will though!
I have a coworker who's birthday falls 2 days before his and I almost always bake her cake as well. Year after year, Wes says he doesn't want me to make him a cake because I had to make hers, blah, blah, blah. But who can have a birthday without cake? That's sacrilegious! So I donned my Betty Crocker apron and whipped up 2 cakes in 1 day. That's how the big dogs do it. I guess I'm officially a big dog.

I went with the old standby, one of our family favorites, a Salted Caramel Chocolate Cake. I've made this about a half dozen times and each time it tastes slightly different than the last. The key is all in the caramel. You have to let it cook until you think it's reached the point of no return. If you think it's burning, that's ok. You're probably just reaching the finish line. I've made it in the past when I didn't cook the caramel long enough and the icing lacked flavor. Just seconds before the burning point, when it's deep golden brown, that's where it's at.

A terribly fuzzy picture of the birthday boy, but who could write a birthday post without so much as a blurry shot of the birthday boy himself?!
Without further ado, the cake of all cakes, the lick-the-plate-clean-if-you're-a-2-or-5-year old, the cake that will add 5 pounds to your waistline and you won't care, the...

Salted Caramel Chocolate Cake
Ingredients:

1-3/4 cups all-purpose flour
3/4 cup HERSHEY'S Cocoa
1-1/2 teaspoons baking powder
1-1/2 teaspoons baking soda
1 teaspoon salt
2 eggs
1 cup milk
1/2 cup vegetable oil
2 teaspoons vanilla extract
1 cup boiling water
For the caramel:
4 tablespoons water
1 cup sugar1/2 cup heavy cream
2 tablespoons butter
1/2 teaspoon lemon juice
1/2 teaspoon salt, kosher or sea
For the salted caramel icing:
1 1/2 sticks butter, at room temperature
8 ounces or 1 package of reduced fat cream cheese, at room temperature
2-3 cups powdered sugar
1 cup salted caramel
Directions:
For the cake:
1. Heat oven to 350°F. Grease and flour two 9-inch round baking pans.
2. Stir together sugar, flour, cocoa, baking powder, baking soda and salt in large bowl. Add eggs, milk, oil and vanilla; beat on medium speed of mixer two minutes. Stir in boiling water (batter will be thin). Pour batter into prepared pans.
3. Bake 30 to 35 minutes or until wooden pick inserted in center comes out clean. Cool 10 minutes; remove from pans to wire racks. Cool completely before frosting.
For the caramel:
1. Combine the water and sugar in a deep saucepan and cook over medium heat. Stir together with a wooden spoon until the sugar is incorporated. Cover the saucepan and let it cook over medium heat for 3 minutes.
2. After 3 minutes, remove the lid, increase the heat to medium-high, and bring to a boil. Do not stir from this point on, but it is important to carefully shake the pan so that one area of the caramel doesn’t burn. Continue to cook until the caramel turns an even amber color then remove from the heat and let stand for about 30 seconds.
2. After 3 minutes, remove the lid, increase the heat to medium-high, and bring to a boil. Do not stir from this point on, but it is important to carefully shake the pan so that one area of the caramel doesn’t burn. Continue to cook until the caramel turns an even amber color then remove from the heat and let stand for about 30 seconds.
3. Carefully and slowly pour the heavy cream into the mixture. The mixture will bubble up significantly. Stir the mixture and add the butter, lemon juice, and salt. Stir until combined.
4. Measure 1 cup into a Pyrex measuring cup. Stirring occasionally, allow to cool until thick like molasses and warm to the touch, about 20 minutes. This recipes makes slightly more than 1 cup of caramel. You can reserve the rest for drizzling, like I did if you wish, or just eat it with a spatula!
4. Measure 1 cup into a Pyrex measuring cup. Stirring occasionally, allow to cool until thick like molasses and warm to the touch, about 20 minutes. This recipes makes slightly more than 1 cup of caramel. You can reserve the rest for drizzling, like I did if you wish, or just eat it with a spatula!
For the caramel icing:
1. Bring butter to room temperature by letting it sit out for 1 or 2 hours. Beat butter and cream cheese at medium speed until creamy.
2. Sift 1-2 cups of powdered sugar into the butter/cream cheese mixture and beat to combine. Add 1 cup of the salted caramel and beat to combine. Sift remaining powder sugar, in 1/2 cup increments and beating between each, until you arrive at the thickness and sweetness you desire. I used somewhere between 2-3 cups.
2. Sift 1-2 cups of powdered sugar into the butter/cream cheese mixture and beat to combine. Add 1 cup of the salted caramel and beat to combine. Sift remaining powder sugar, in 1/2 cup increments and beating between each, until you arrive at the thickness and sweetness you desire. I used somewhere between 2-3 cups.
3. Frost in between the layers and all over the top and sides.
Store at room temperature for optimal freshness. When you store cakes in the refrigerator, they dry out. This cake will still taste delicious, the cake part just won't be as moist.


Thursday, April 11, 2013
Roasted Vegetable Pockets

This is an adaptation of one of our family's favorite carnivore dishes, Chicken Crescent Squares. Since we've started the vegetarian lifestyle, I find it increasingly more difficult to look at, much less touch raw meat. So on few occasions we do have meat, I have to take a deep breath and try to think about something else as I cut it up. I've never been the world's biggest meat-lover, so this isn't all completely new for me. I don't expect most vegetarians experience this same phenomenon when they initially make the switch.
So I wanted to be able to still enjoy this recipe that we loved so much. Once I decided to remove the chicken, the cream cheese didn't seem to fit anymore either. I basically decided I'd just roast some veggies, throw in some roasted garlic and then spoon it into the crescent squares before baking.
It turned out great and no one even missed the chicken. Now it was a completely different dish than the old one, but just as tasty, if not better!

1 small sweet potato, peeled and cut into 1/2-inch cubes
1 leek, white and light green parts only, washed and thinly sliced
4oz button mushrooms, quartered
2 cups cauliflower, chopped into bite-size pieces
1 small red pepper, cut into 1-inch pieces
1 tube of crescent rolls (I like Trader Joe's or Immaculate Baking Co.)
1 whole head garlic
1-2 T olive oil
1 tsp tumeric
salt & pepper
2 tsp balsamic vinegar
Directions:
Preheat oven to 425.
Remove the outermost layers of skin from the head of garlic, being sure to keep the entire head in tact. Cut off just enough of the end (top) where you can just barely see the garlic. Tear off a small piece of aluminum foil (enough to wrap around the garlic) and place the head of garlic in the middle of the foil, drizzle with a teaspoon of olive oil, and gather the foil. Roast in the oven for 45 minutes, or until it's squishy when you squeeze it.
Drizzle 1 T. olive oil on a large rimmed baking sheet. Spread to coat with your hand. Sprinkle salt and pepper generously on top of the oil. Scatter the sweet potato cubes and cauliflower on top of the prepared pan. Sprinkle with tumeric before baking for 15 minutes. Remove from oven and add mushrooms, pepper, and leeks. Toss with additional olive oil and spread veggies into a flat layer. Bake another 10-15 minutes, or until veggies are soft. Remove from baking sheet to a bowl and toss with balsamic vinegar.
Remove crescents from tube in one piece. Divide along dotted lines to form 4 squares. Seal the diagonal lines by pinching them together. Flatten them out slightly with a rolling pin. Spoon a heading tablespoon (or more) of the prepared veggies into the center of each square. Bring each corner of the square to meet in the middle and pinch to seal each corner.
Bake, according to the crescent roll package directions, usually about 25 minutes, or until golden brown.
**Linking up with Bloom Designs, What's Cookin' Wednesday, Allergy Free Wednesday, Healthy 2 Day Wednesday, Healthy Vegan Friday, and What's Shakin'.
Saturday, March 23, 2013
Vegan Cinnamon Rolls

There are few things better than breakfast foods. Well, okay, maybe family, friends, and sunshine are a little better, but on the food spectrum I'll take breakfast over other meals any old day.
I'm a half and half kind of girl when it comes to sweet and savory. I like to start with something savory that has some sustenance to counteract the sugar from the sweet. I love going to breakfast with my mom because she's exactly the same (probably where I got it), so one of us orders savory, the other orders sweet and we split. For a few sweet hours, it's perfection!
Last weekend I was in the mood to make something sweet for breakfast. I pulled up some of my bookmarked recipes and let the kids pick which one looked the best to them. Sawyer is easily swayed by his super cool, do-no-wrong, big brother, so really it was up to Colin. These cinnamon rolls beat out donuts! I have to admit I was surprised. But I'm glad they did because they were delicious. Just the right amount of sweetness, with just the right amount of dough. These aren't going to be Cinnabon knock-offs, but I promise you'll feel much better after eating one of these than you would with one of those!


Vegan Cinnamon Rolls
Prep time: 15 minutes
Cook time: 15-17 minutesYield: 8 rolls
{print recipe}
Ingredients:
- 2 3/4 cup all-purpose flour
- 2 T. sugar
- 1 1/4 tsp baking powder
- 1/2 tsp baking soda
- 3/4 tsp salt
- 1 1/4 cup "buttermilk" (Mix 1 T vinegar with almond milk to make 1 1/4 cups. Let sit for 5 minutes.)
- 6 T melted vegan margarine
- 2 T melted vegan margarine
- 2 T sugar
- 2 T cinnamon
- 2 T water
- 3/4 -1 cup powdered sugar
- First, make your "buttermilk". Measure 1 Tbsp of white or apple cider vinegar into a 2 cup measuring cup. Fill the measuring cup to 1 1/4 cups with almond milk. Let sit for 5 minutes.
- Mix all of dry ingredients together in a large bowl; then add in the melted margarine and the "buttermilk".
- Kneading it for a few minutes, it should become a bit smooth and more elastic than wet. If it still seems wet, go ahead and add some more flour.
- Once it's a bit neater, roll it out into a roughly 12x9 rectangle, about a 1/2-thick. It doesn't need to be perfect. After that, top the dough rectangle with melted margarine and your mixture of cinnamon and sugar and roll it up.
- Cut the roll into 8 pieces. (A great tip: use some dental floss to cut the rolls. Just wrap it around the roll and pull the two ends across and it will cut the rolls very nice and neatly.)
- Put your perfectly-cut rolls in a greased baking pan and bake at 425 degrees for about 15 - 17 minutes.
- While they're in the oven, you can mix your glaze with however much powdered sugar you want, thinned with just a bit of water. Pour it over the rolls while they're fresh out of the oven, so it gives them a nice caramelized layer and absorbs into the roll.
**Linking up with Jam Hands, What's Cookin' Wednesday, Allergy Free Wednesdays, and Healthy Vegan Friday.
Subscribe to:
Posts (Atom)